The process involves simply sealing frames to prevent air seepage and exposure to the elements. In most cases, weather stripping materials can be applied very easily to all window styles.
Of course, it is helpful to know that window styles like double-hung windows, casements and sliders require a little more attention to detail. All window styles with elements that push together or slide over each other demand extra precision.
Weather stripping materials are typically made from some mix of rubber and plastic to provide insulation with a good amount of pliability for fitting the materials tightly into window frames.
Homeowners benefit from applying weather stripping in the winter because it prevents heated air from escaping the house. In addition, there is a barrier against cold air. Energy efficient windows are responsible for 25%-30% of a home’s heating/cooling energy consumption.
During the summer, weather stripping materials block hot air from entering the home. In addition, cool air that is circulating in the home can’t escape.
The result is better energy efficiency with reduced heating and cooling bills throughout the year.
The best part is that the cost of weather stripping is very low! For the cost of some basic materials, homeowners can keep their energy bills in check all 12 months of the year!
The actual process of adding weather stripping to your home’s windows is fairly quick and easy. Unlike other home projects that require extensive preparation, skill and cleanup, adding weather stripping is something that most homeowners can take care of with just a little bit of free time.
Next, take a look at how to add weather stripping at your house!
How to Install Weather Stripping on Windows for Energy Efficiency
We’re going to go through step-by-step on installing your weather stripping. Just follow these 5 simple steps.
Step 1: Do a Check to See If Your Home Already Has Weather Stripping
If you’ve just moved into a new place, the first step is to check if a previous owner added weather stripping to doors and windows at some point.
First, you may assume that your home doesn’t have weather stripping if conditions are drafty. That’s not necessarily the case. This might be a situation where old weather stripping has simply gone past its expiration date.
Weather stripping doesn’t work forever. In most homes, it needs to be swapped out for new materials every few years.
With this is mind, it’s also important to realize that you’re not “all set” just because you notice some weather stripping materials in place in your new home’s doors and windows. It’s possible that the materials are no longer providing protection against drafts because they are several years old.
There are the signs that your home’s weather stripping materials need to be replaced:
- Warping.
- Cracking.
- A general look of deterioration.
- Light that creeps through the edges of windows or doors.
- A draft that can be felt coming in through and around the weather stripping.
If your home does have outdated weather stripping materials in place, the first step will be removing what’s there before applying your new materials. In most cases, removing old weather stripping materials is as easy as simply pulling everything off. However, you may want to consider filling in holes with wood filler if you’ll be tearing out staples or nails.
Give the frame a nice wash to ensure you’re working on a clean slate without any gunk or debris when installing your new materials.
Step 2: Get Your Measurements Done
The first step is to simply measure your window frames to see how much insulation you’ll need.
Step 3: Shop for Materials
This is where you have some freedom to pick out the weather stripping materials you prefer. While you may see some “budget” options made of felt, you should keep in mind that this material doesn’t perform effectively when it’s exposed to moisture. Options like foam tapes and V-shaped strips are preferred.
You’ll also see some tension seals that promise very tight, effective insulation. While tension seals are highly effective, installing them can be more difficult than installing classic flat and V-shaped weather stripping.
In most cases, you’ll need to combine the broad foam strips with V-shaped strips to get all of the contours and corners of a typical window frame covered. A good plan will include adding foam weather stripping materials at the bottom and top of the sash before leaving room for the V-shaped version at the sash sides.
Step 4: Customize Your Materials
Next, it’s time to cut your materials to the right lengths for your home’s windows. Keep in mind that you’ll need to cut each piece of stripping to fit one side of your frame instead of trying to cut enough to “wrap around” the entire frame.
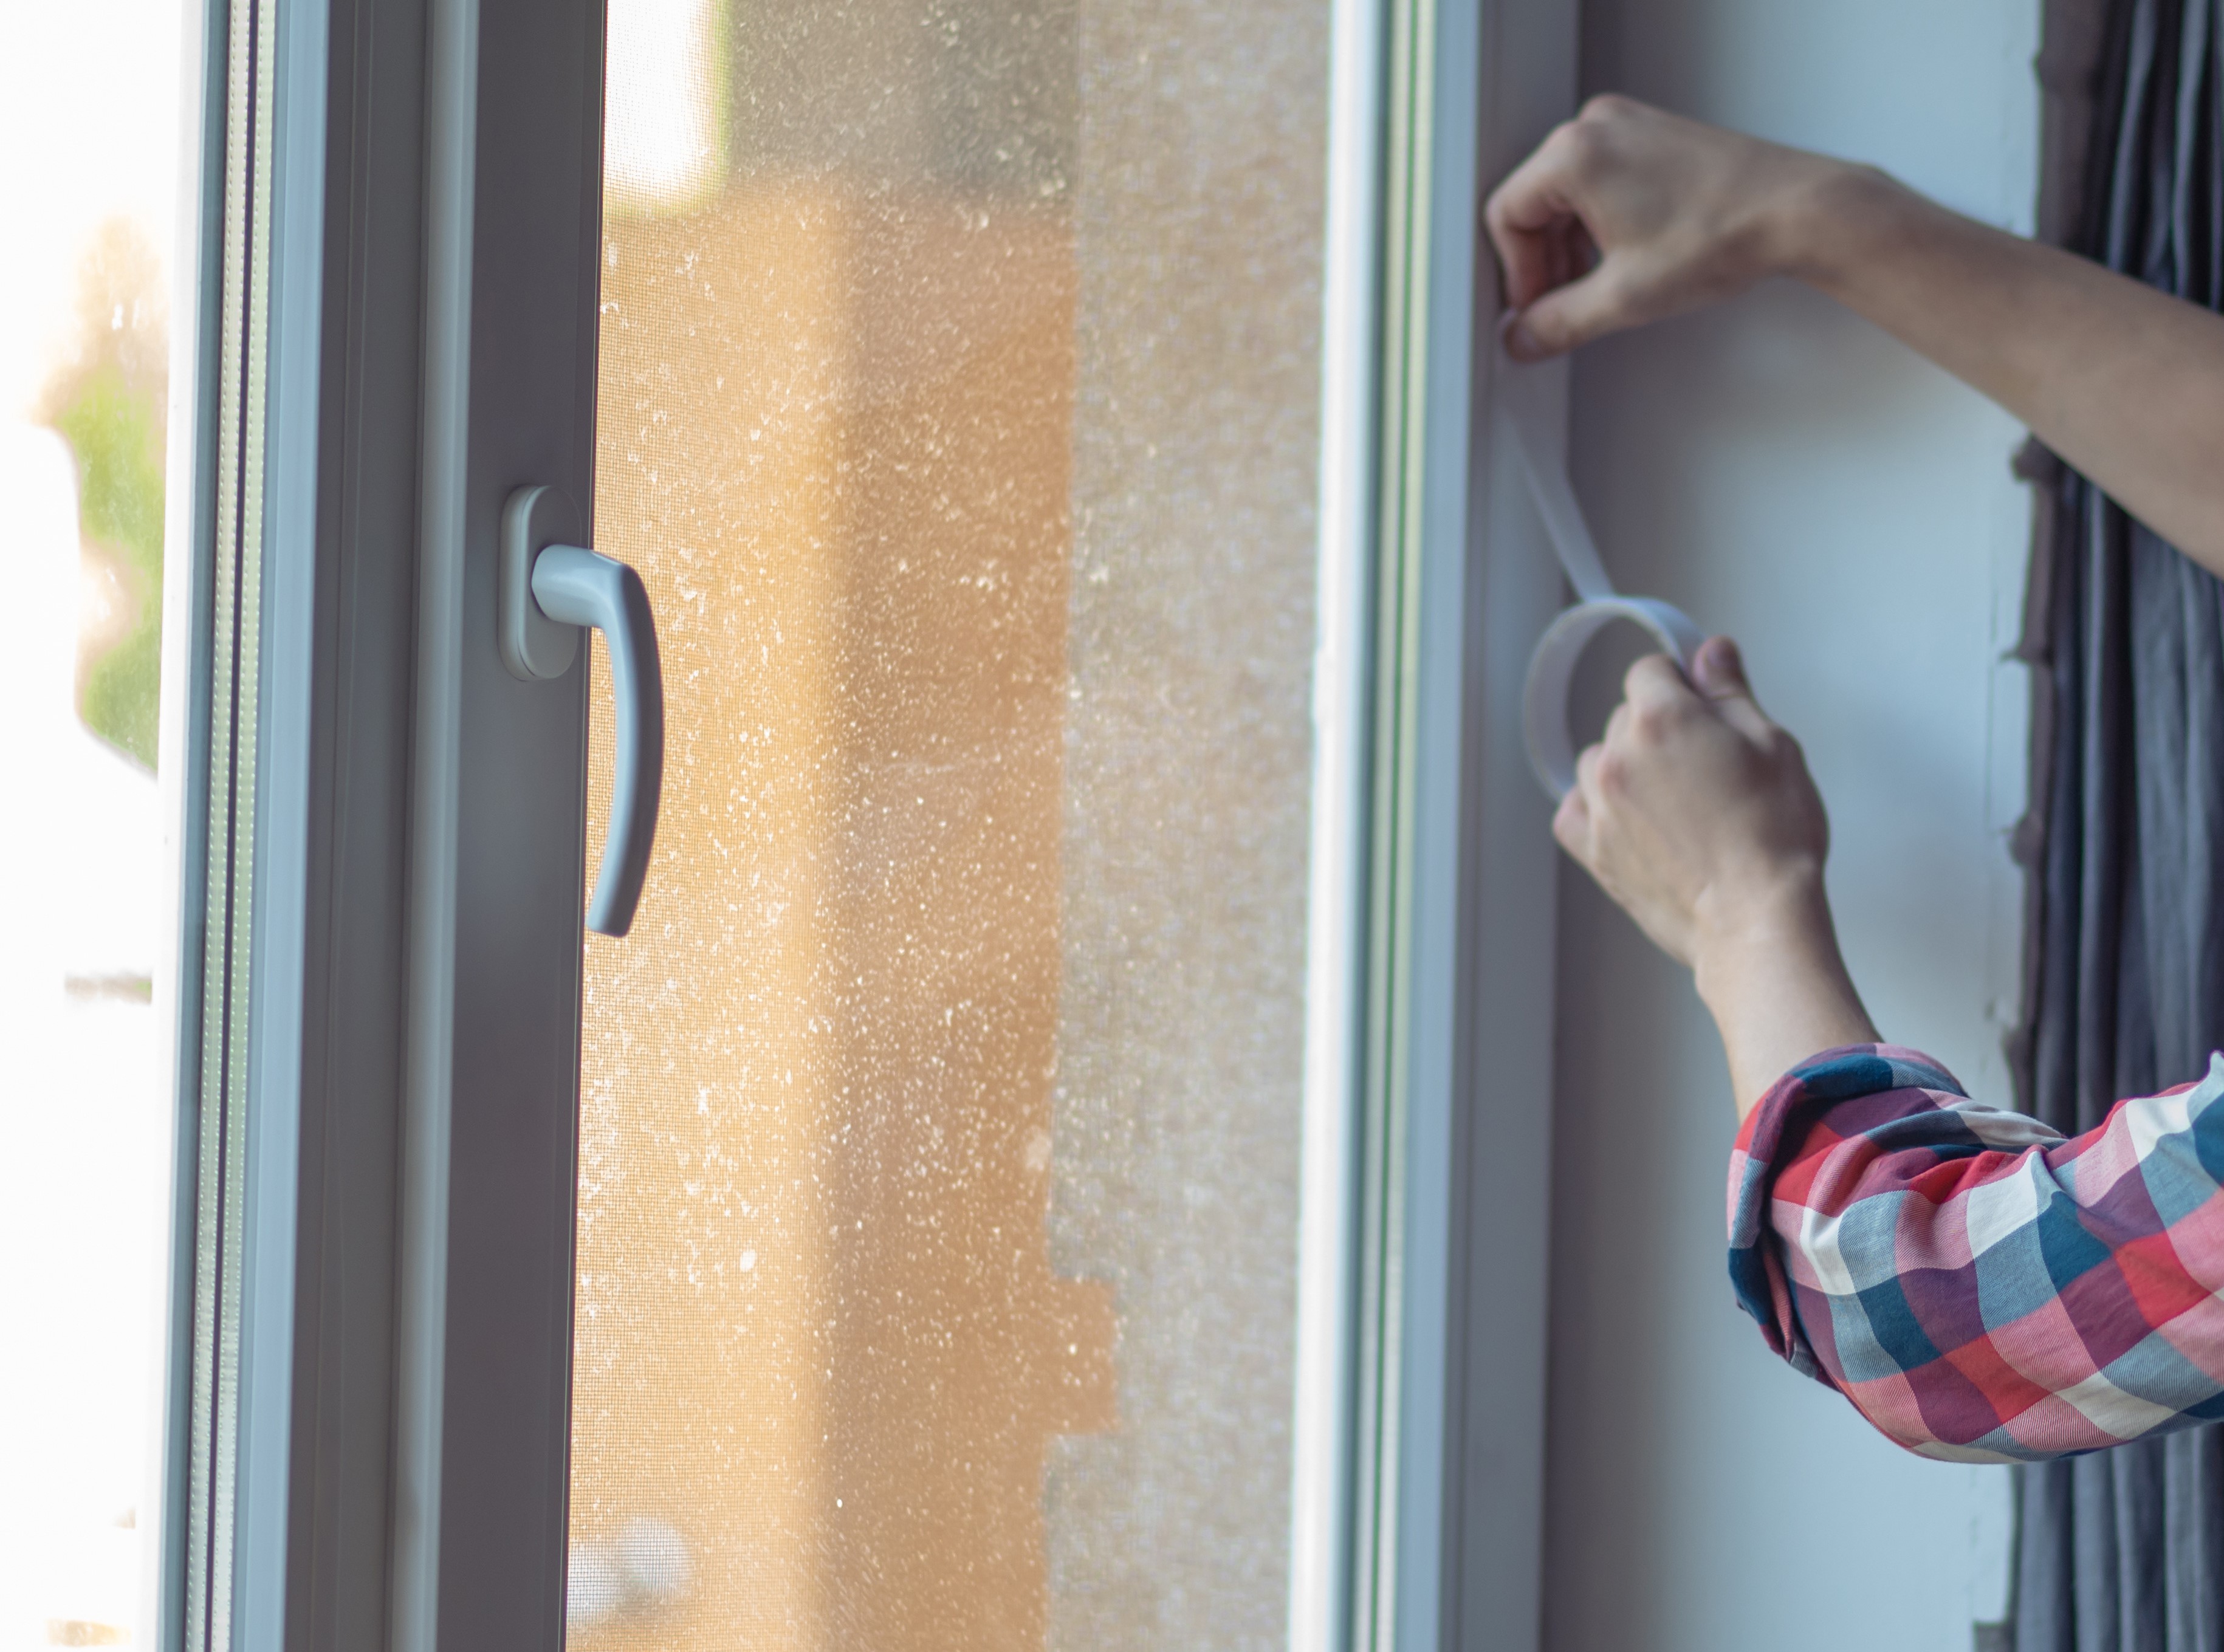
Installation is typically very easy due to the fact that mainstream weather stripping products all have self-adhesive edges. If you’re not getting a good stick, you can always help the adhesive along with some glue. Nails are also helpful for fortifying the fit and seal of V-shaped strips.
One tip for how to install weather stripping on windows is that you should be placing a piece of your V-shaped stripping on each jamb channel. The foam stripping should be placed at the top and bottom. However, you should be mindful that all V-shaped stripping is placed with the slit facing upward to ensure a tight seal when you close your window.
Step 5: Test Your Work
There’s an easy way to test if you’ve created a tight seal. Simply close your window over a sheet of paper. If it’s difficult to pull the paper out, your seal is tight! Next, use your knowledge about how to install weather stripping on windows to create a tight seal on every frame.
The Final Step: Deciding If Weather Stripping Is Enough for Energy Efficiency
Finally, it’s important to weigh all of your options if you’re interested in adding window stripping materials because you’re noticing a lack of energy efficiency at your home.
Adding weather stripping is an easy, cheap fix for windows that are in good shape. However, this homeowner hack can’t save old, inefficient windows. This is where it’s essential to use a window replacement cost estimator for different window styles to see how much you’ll save by reducing your energy costs based on replacement costs per window.